If you have ever had a gel manicure, you will know the moment: the polish goes on, your hand slides into a small glowing device, and a minute later the colour is dry, hard and glossy. That device is a nail lamp, and it is the single piece of equipment that makes gel nails possible. Without it, gel polish simply stays wet. With the right lamp and the right technique, you can get a salon-looking result at home — but choosing the wrong lamp, or using it carelessly, is how most home gel manicures go wrong.
This guide explains what a nail lamp actually does, how LED and UV lamps differ, what to look for when buying one, and how to use it step by step for a smooth, long-lasting finish. It is general beauty information, not professional training, so if you have damaged nails, a skin condition on your hands, or any doubt about a product, check with a qualified nail professional first.
What Is a Nail Lamp?
A nail lamp is a small device that emits a specific wavelength of light to harden, or “cure”, gel nail polish. Gel polish is different from ordinary nail polish: it does not dry by evaporation in the air. Instead, the formula contains photoinitiators that react to light of the right wavelength, triggering a chemical reaction that turns the liquid gel into a hard, durable coating. Until that reaction happens, the polish remains soft and smudgeable, no matter how long you wait.
That is why a gel manicure always involves the lamp, layer by layer. Base coat, colour coats and top coat are each cured separately, so every layer hardens properly before the next one goes on. Skipping the lamp, or using a lamp that does not match your polish, leaves layers under-cured — soft underneath, prone to peeling, and more likely to cause skin contact with uncured gel, which can lead to sensitivity over time.
How Does a Nail Lamp Work?
Inside the lamp, bulbs or LEDs emit light in the ultraviolet range. Traditional UV lamps use small fluorescent-style tubes, while newer LED lamps use light-emitting diodes. Both cure gel, but they do it at different speeds and with slightly different wavelengths, which is why matching lamp to polish matters.
Most modern gel polishes are formulated to cure under LED light, and many are dual-cure, meaning they work under both LED and UV. Older or specialist gels may need a traditional UV lamp. The product label usually states which lamp type and curing time it needs — that label is the authority, not the marketing on the box. Curing times are typically measured in tens of seconds for LED lamps and a couple of minutes for UV lamps, per layer.
It is worth understanding that the lamp is not “drying” the polish the way air dries normal polish. It is driving a chemical change. That is why a gel manicure feels instantly hard and smudge-proof when done properly, and why it can last two weeks or more, compared with a few days for regular polish.
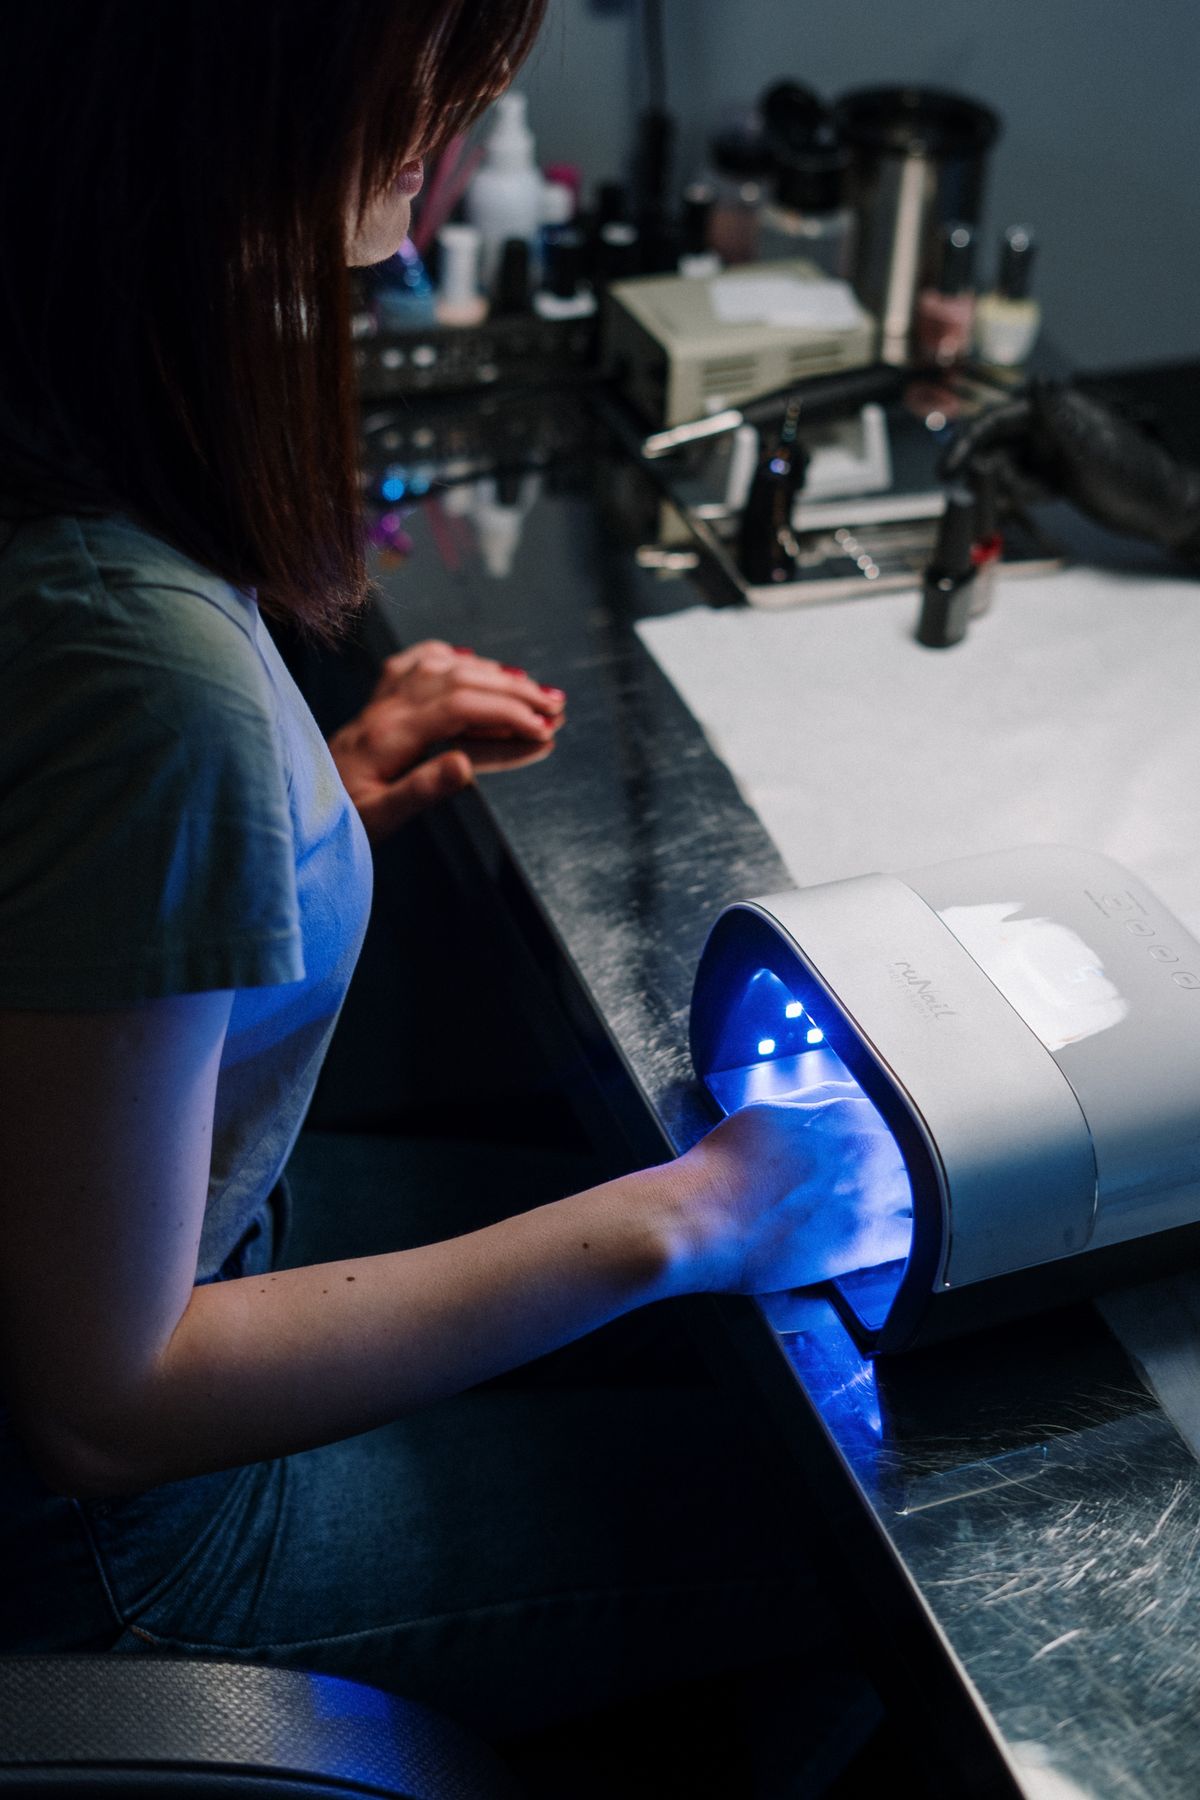
LED vs. UV Nail Lamps: Which Is Better?
For most home users, an LED lamp is the better choice, and here is why. LED lamps cure faster, usually in 30 to 60 seconds per layer, which shortens the whole manicure. They run cooler, their bulbs last far longer than UV tubes, and they use less energy. Because LED is now the industry standard, the widest range of gel polishes is formulated for LED curing.
Traditional UV lamps still have a place. They emit a broader range of wavelengths, so they can cure some older or specialist gel formulas that LED lamps cannot. Their downside is speed — curing times of around two minutes per layer add up across a full manicure — and their tubes weaken over time and need replacing, even if they still light up. A UV lamp with ageing tubes may look fine while under-curing your polish.
The practical answer for most buyers is a dual-wavelength LED lamp, often marketed as UV/LED. These combine LED diodes across the wavelengths needed for modern gels, giving fast curing with broad compatibility. If you already own a collection of gels, check their labels first: buy the lamp type they specify, and if in doubt, choose a dual lamp.
What to Look for When Buying a Nail Lamp
Wattage and Curing Power
Wattage gives a rough sense of power, and most home LED lamps sit in a mid-range band that handles standard gel polishes comfortably. Very low-powered lamps cure slowly and may under-cure thicker layers, while very high-powered lamps cure fast but generate more heat, which some people feel as a brief warm or “heat spike” sensation on the nail. A mid-range lamp with a low-heat or gradual-power mode is a sensible middle ground for home use.
Size and Fit
Check that the lamp comfortably fits all five fingers, or a whole hand, without squeezing. Cramped lamps cause polish to touch the inside of the device and smudge. If you also do pedicures, check whether a foot fits too — some compact lamps are hands-only. An open-back design makes positioning easier, while a closed design blocks stray light.
Timer Settings
Look for preset timers, typically 30, 60 and 120 seconds, plus an automatic sensor that switches the lamp on when your hand enters. Timers matter because consistent curing times are what produce a consistent result. Guessing the time, or pulling your hand out early, is a common cause of peeling.
Removable Base and Easy Cleaning
A removable base plate makes the lamp easier to clean and lets you use it for pedicures. Gel drips and dust build up inside any lamp over time, so a design you can wipe down will last longer and work better.
Compatibility
Before buying, check the lamp against the gel polishes you actually own or plan to buy. A lamp is only as good as its match with your polish. If a polish brand specifies its own lamp or a particular curing time, follow that guidance.
How to Use a Nail Lamp Step by Step
A good gel manicure is mostly preparation. The lamp does its job best on nails that are clean, shaped and free of oil.
- Prep the nails: Remove old polish, shape the nails, gently push back cuticles, and lightly buff the nail surface to remove shine. Wipe each nail with a cleanser or dehydrator to remove oils and dust.
- Apply a thin base coat: Thin layers are the golden rule of gel. Paint the base coat thinly, cap the free edge by running the brush lightly across the nail tip, and avoid getting gel on the surrounding skin.
- Cure the base coat: Place your hand flat in the lamp, fingers slightly apart, and cure for the time your polish specifies. Keep your hand still and do not peek mid-cure.
- Apply colour in thin coats: Two thin colour coats, each cured separately, give better colour and durability than one thick coat. Thick coats cure unevenly — hard on top, soft underneath.
- Finish with top coat and cure: Apply top coat, cap the free edge again, and cure for the full recommended time.
- Cleanse and moisturise: If your top coat leaves a tacky layer, wipe it with the cleanser your polish brand recommends. Finish with cuticle oil and hand cream.
Keep gel off your skin throughout. Uncured gel sitting on skin is the main cause of irritation and, with repeated exposure, allergic sensitivity to gel products. If gel touches skin, wipe it away with a clean tool before curing, rather than curing over it.
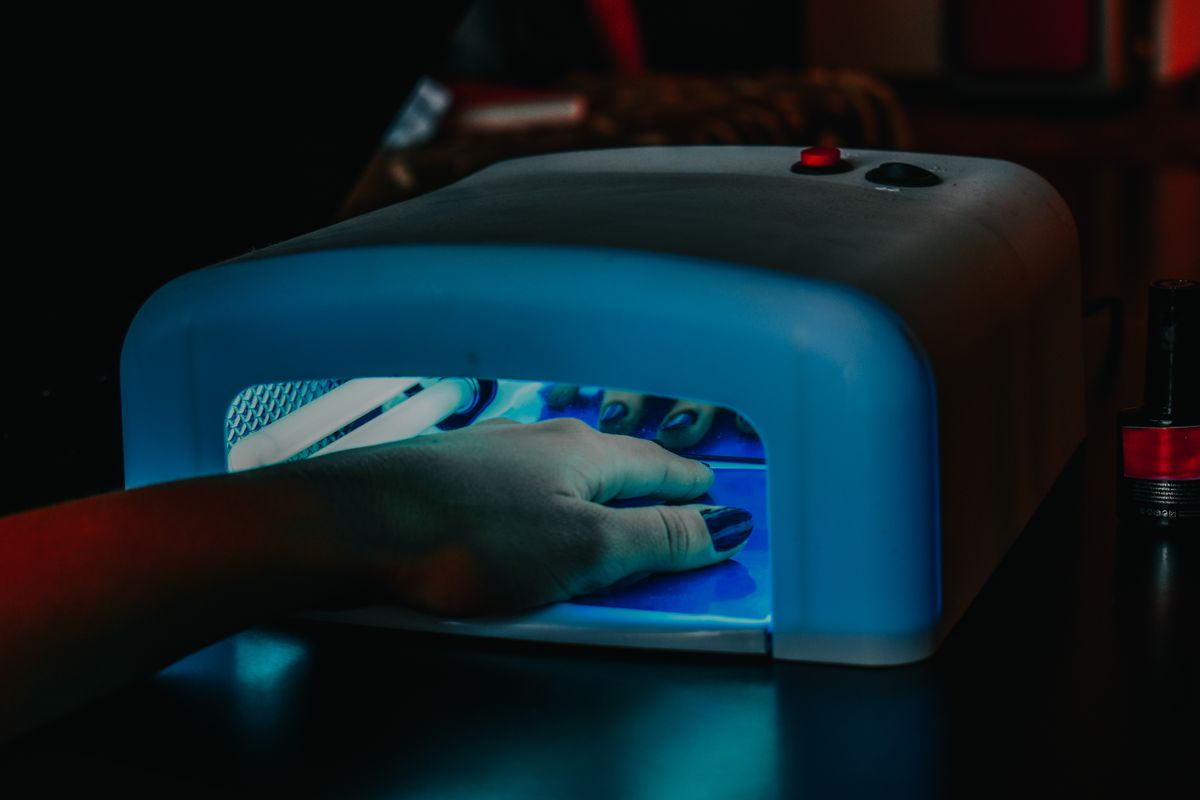
Gel Nails vs. Other Manicures
Gel sits between regular polish and longer-wearing enhancements. Regular polish is quick and easy to remove but chips within days. Gel lasts much longer and keeps its gloss, but needs a lamp and a more careful removal process. Acrylic and hard-gel extensions add length and structure, but they are a bigger commitment and are usually best left to professionals.
For many people, the appeal of a home gel routine is the balance: a durable, glossy finish without salon appointments, using a modest kit of polish, lamp, cleanser and cuticle oil. The trade-off is that you take on the technique yourself, including safe curing and careful removal. If you prefer a polish-free look, gentler options such as a Japanese manicure, which buffs the natural nail to a shine without polish or a lamp, are worth exploring as an alternative between gel sets.
Common Mistakes That Ruin a Gel Manicure
- Layers too thick: The number one cause of peeling and wrinkling. Thin coats cure fully; thick ones do not.
- Under-curing: Pulling your hand out early, using a weak lamp, or using a lamp that does not match your polish leaves soft layers underneath.
- Gel on the skin: Polish cured onto cuticles lifts as the skin moves, causing peeling, and repeated skin contact can trigger sensitivity.
- Skipping prep: Oily or dusty nail plates stop gel bonding properly, so it lifts within days.
- Peeling gel off: Picking or peeling removes layers of the natural nail with it. Always soak off properly instead.
- Back-to-back sets without breaks: Nails benefit from rest periods between gel sets, with cuticle oil and gentle care in between.
Nail Lamp Safety Notes
Used as directed, a home nail lamp is a normal beauty device, but a few sensible precautions apply. Do not stare directly into the lamp, and keep your hand positioned as the manufacturer instructs so light exposure stays where it belongs — on the nails. Avoid curing over broken, irritated or infected skin, and stop if you feel burning, unusual heat or discomfort beyond a brief warm sensation, which can happen with thicker layers or stronger lamps. A persistent heat spike is a sign to use thinner layers, a lower-heat setting, or a different product.
Some people choose to wear fingerless gloves or apply sunscreen to the backs of their hands during curing as an extra precaution against UV exposure, while leaving the nails exposed. This is a personal choice, not a requirement, but it is a simple habit if you do gel manicures frequently. If you notice itching, redness, swelling or lifting of the nail that does not settle, stop using gel products and seek advice from a healthcare or nail professional — these can be signs of sensitivity to gel ingredients, and continuing to cure over irritated skin will only make it worse.
Nail and Hand Care Around Gel Manicures
The difference between nails that survive gel well and nails that go thin and brittle is usually aftercare and removal, not the lamp itself. Remove gel by gently filing the top coat, then soaking in remover as your product directs, and easing the softened gel away with an orangewood stick — never forcing or scraping. Moisturise daily with cuticle oil, which keeps the nail plate and surrounding skin flexible, and give nails a break between sets when they feel weak, bendy or dry.
A simple routine supports the whole look: hand cream after washing, cuticle oil at night, gloves for cleaning and washing up, and a nail strengthener during rest weeks if your nails feel fragile. Healthy hands make any manicure look better, and a consistent routine is worth more than any single product.

Frequently Asked Questions
Can I use any gel polish with any nail lamp?
Not always. Most modern gels are LED-compatible, but some older or specialist formulas need a UV lamp. Always check the polish label for the lamp type and curing time it specifies.
How long should I cure each coat?
Follow your polish brand’s instructions: typically 30 to 60 seconds under LED and around two minutes under UV, per layer. Longer is not automatically better, and under-curing is a common cause of peeling.
Why does my gel peel after a few days?
The usual causes are thick coats, under-curing, gel on the skin, or oily nail plates from skipped prep. Work through those four before blaming the lamp or the polish.
Do I need a lamp for regular nail polish?
No. Regular polish dries by evaporation in the air. A lamp only affects gel formulas designed to cure under light, and it will not speed up normal polish.
How do I know when my lamp needs replacing?
LED lamps last a long time, but UV tube lamps weaken gradually. If curing times that used to work start producing soft or peeling results, ageing tubes are a likely cause. Replace tubes or the lamp as the manufacturer recommends.
Conclusion
A nail lamp is a small investment that unlocks the whole world of gel nails at home — but it only works its best when matched to your polish, used with thin layers, and given the full curing time each coat needs. Choose a dual-wavelength LED lamp with sensible timers and a comfortable fit, prep your nails properly, keep gel off your skin, and remove gel gently rather than peeling it. Get those habits right, and your home gel manicures will look glossy, last well, and keep your natural nails in good condition underneath.