If you have scrolled past a manicure that seems to glow from within, with a line of light that moves as the hand turns, you have probably seen cat eye nail polish in action. Named after the narrow, luminous pupil of a cat, this effect gives nails a dimensional, almost gemstone-like shimmer that ordinary polish cannot match. The good news is that it is not a salon-only trick: with the right polish, a small magnet and a little patience, you can create it at home.
This guide explains what cat eye polish is, how the magnet creates its signature effect, how to apply it step by step, which colours and designs suit different tastes, and how to remove it safely without damaging your nails. It is general beauty information, not professional training, so if you have damaged nails, a skin condition on your hands, or any doubt about a product, check with a qualified nail professional first.
What Is Cat Eye Nail Polish?
Cat eye nail polish is a polish containing tiny metallic particles that respond to a magnet. When the polish is wet, holding a magnet close to the nail pulls those particles into a pattern, usually a narrow band of light across the nail that resembles a cat’s eye. Once the polish is set, that pattern stays in place, giving the nail a shifting, three-dimensional look that changes as you move your hand in the light.
The effect sits somewhere between a solid colour and full nail art. It is more interesting than a plain manicure, because the shimmer catches the eye, but it does not require painting tiny designs freehand or using stickers and stamps. That balance is a large part of its appeal: it looks intricate, yet the technique behind it is surprisingly simple once you understand the magnet step.
Cat eye polish comes in a wide range of base colours, from deep jewel tones such as emerald, sapphire and burgundy to softer shades such as rose, champagne and grey. The metallic particles themselves are usually silver, gold or a matching shimmer, and the combination of base colour and particle colour is what gives each polish its character. A dark base with a bright shimmer gives a dramatic, high-contrast look, while a lighter base gives a softer, more subtle glow.
How Does the Magnet Create the Cat Eye Effect?
The secret is in the formula. Cat eye polish contains fine metallic particles suspended in the polish. While the polish is still wet, those particles are free to move. A magnet held close to the nail attracts them, drawing them together into a concentrated line or shape. The rest of the polish stays in its base colour, so the gathered particles stand out as a bright, reflective band against a darker background.
The shape of the effect depends on how you hold the magnet. Holding it flat and parallel to the nail usually gives a straight band across the middle, while tilting it changes the angle of the band. Holding it closer pulls the particles into a sharper, narrower line, while holding it slightly further away gives a softer, wider glow. Moving the magnet slowly from side to side can create a sweeping effect, and using a magnet with a shaped end can create patterns such as a star or a French-tip style arc.
Timing matters as much as position. The magnet only works while the polish is wet, so the magnet step must happen before the polish sets. With gel formulas, that means before curing under a lamp; with regular polish, it means while the coat is still freshly applied and glossy. Once the polish has set, the particles are locked in place and the magnet will have no further effect, so it is worth practising the hold on one nail before doing a full set.

Gel or Regular Polish: Which Cat Eye Formula?
Cat eye polish is available in both gel and regular formulas, and the choice affects how you apply it and how long it lasts. Gel cat eye polish is cured under a lamp, layer by layer, which gives a hard, glossy finish that typically lasts much longer than regular polish. It is the formula most salons use, and it is a good choice if you want a manicure that survives everyday wear for an extended period. The trade-off is that you need a lamp and a more careful removal process.
Regular cat eye polish dries in the air like ordinary polish, so it needs no special equipment beyond the magnet, which is usually included with the polish or sold alongside it. It is easier to remove and a good starting point if you are trying the effect for the first time, or if you like changing your manicure frequently. Its finish is softer and it will chip sooner than gel, but for a weekend look or a first experiment, that simplicity is a real advantage.
If you choose a gel formula, matching your lamp to your polish matters, because gel only cures properly under the right kind of light. Before you buy, read our guide to choosing a nail lamp for help picking a lamp that suits gel nails at home. A well-matched lamp is what turns a gel cat eye manicure from a soft, peeling result into a hard, glossy finish that actually lasts.
Colours and Designs to Try
The classic cat eye look is a single band of light down the centre of a dark nail, and it remains the most wearable version of the effect. Deep green, navy, plum and charcoal all show the shimmer beautifully, and they suit both everyday wear and evening looks. If you prefer something softer, a dusty rose, mauve or champagne base with a gentle shimmer gives a subtle glow that reads as elegant rather than dramatic.
Once you are comfortable with the basic band, there are several simple variations worth trying. An angled band, created by tilting the magnet, gives a more modern, asymmetric look. A French-style cat eye, where the magnet is held near the tip of the nail, concentrates the shimmer at the end of the nail like a glowing tip. An accent nail, where only one or two nails carry the cat eye effect and the rest are painted in a matching solid colour, is a tasteful way to try the trend without committing to a full set.
You can also layer the effect. Some people apply cat eye polish over a dark base coat to deepen the contrast, or add a glossy top coat to sharpen the shine. Others combine a cat eye accent with simple nail art, such as a fine line or a small gem, on a neighbouring nail. The key is restraint: because the shimmer itself is the feature, a cat eye manicure usually looks best when the rest of the design stays simple and lets the light do the talking.
How to Apply Cat Eye Nail Polish Step by Step
Preparation makes the difference between a smooth, professional-looking result and a lumpy one. Take your time with the base steps, and work one nail at a time once you reach the magnet stage.
- Prep the nails: Remove old polish, shape the nails, gently push back cuticles, and lightly buff away shine if your formula recommends it. Wipe each nail clean so no oil or dust remains.
- Apply a base coat: A base coat protects the natural nail and gives the colour something to grip. For gel, cure the base coat as your polish directs. For regular polish, let it dry fully.
- Apply a dark base colour if you like: Some cat eye polishes are sheer on their own and look best over a matching dark base. If yours needs one, apply it thinly and set it before moving on.
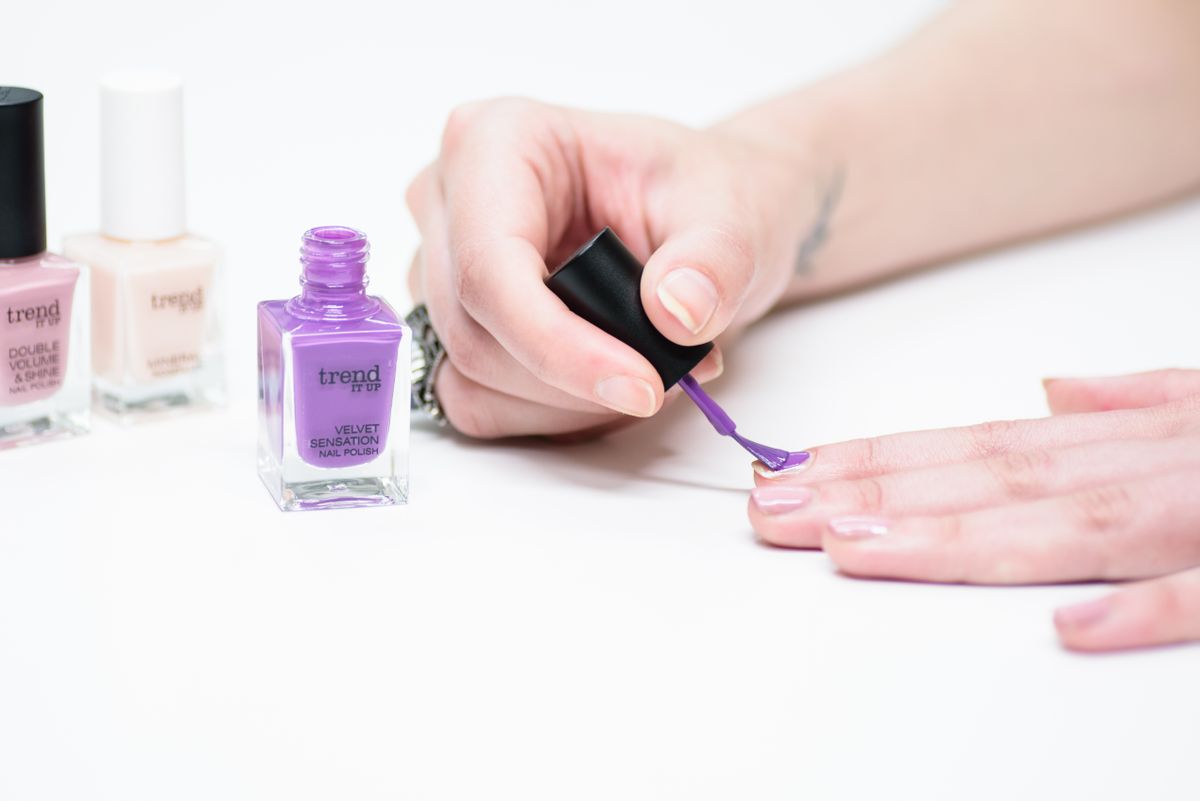
- Apply the cat eye colour in a thin coat: Paint one nail at a time, keeping the layer thin and even. Thick coats pool around the cuticle and make the magnet effect uneven.
- Hold the magnet over the wet nail: Without touching the polish, hold the magnet close above the nail for a short pause, keeping your hand still. Watch the shimmer gather into a band, and adjust the angle or distance until you like the shape.
- Set the nail before moving on: For gel, cure the nail under your lamp as the polish directs. For regular polish, let it dry undisturbed before touching it. Repeat the process nail by nail, rather than painting all ten nails first, because the magnet only works while the polish is wet.
- Finish with a top coat: A top coat seals the effect, adds gloss and protects the shimmer. For gel, cure the top coat fully; for regular polish, let it dry completely before using your hands.
- Clean up and moisturise: Tidy any polish on the surrounding skin with a clean tool, then finish with cuticle oil and hand cream.
The most common beginner mistake is painting all ten nails before reaching for the magnet. By the time you get to the last nails, the polish has already started to set and the magnet can no longer move the particles. Working one nail at a time feels slower, but it is the only way to give every nail the same crisp effect.
Common Mistakes to Avoid
- Letting the polish set before the magnet: The magnet step must happen while the coat is wet, so work nail by nail.
- Touching the nail with the magnet: The magnet should hover just above the polish, never press into it, or it will dent the finish.
- Applying thick coats: Thick layers cure or dry unevenly and blur the shimmer line. Thin coats give a sharper effect.
- Skipping the base coat: Without a base, colour can stain the natural nail and adhesion suffers.
- Getting gel on the skin: Uncured gel on skin can cause irritation and sensitivity over time. Wipe it away before curing.
- Rushing the top coat: A top coat applied before the colour has set can drag the shimmer and dull the effect.
- Using the wrong magnet: A weak fridge magnet may not move the particles well. Use the magnet supplied with the polish or one sold for cat eye nails.
Cat Eye Nails for Special Occasions
Cat eye nails are a natural choice for weddings, parties, holidays and evenings out, because the shimmer catches light beautifully in photographs and under evening lighting. A deep jewel tone suits a formal occasion, while a softer champagne or rose shade works well for a daytime celebration. If you are planning a full beauty routine for an event, it is worth thinking about the whole look together: an even skin tone, a neat manicure and a simple outfit let the shimmer stand out rather than competing with it.
If a bronzed glow is part of your occasion look, you may also want to read our guide to sunbed cream, which explains the indoor tanning lotions used in salons, their types and how to choose one. Whether you prefer a salon routine or an at-home glow, planning the nails and the skin tone together gives a more polished overall result than treating each part in isolation.
Removal and Aftercare
Removal depends on your formula. Regular cat eye polish comes off with ordinary nail polish remover, applied with a cotton pad and held briefly on the nail to dissolve the polish before wiping away. Gel cat eye polish needs a soak-off removal: gently file the shiny top coat, soak the nails as your product directs, and ease the softened gel away with an orangewood stick. Never peel or force gel off, because peeling lifts layers of the natural nail with it.
After removal, give your nails a little care before the next set. Cuticle oil keeps the nail plate and surrounding skin flexible, and a break between gel sets helps nails recover if they feel thin or dry. A simple routine of hand cream after washing, cuticle oil at night, and gloves for cleaning and washing up will keep both your nails and your hands looking their best, whatever manicure you choose next.

Frequently Asked Questions
Do I need a special magnet for cat eye nail polish?
Yes, in practice. Cat eye polish usually comes with a suitable magnet, or one is sold alongside it. A weak household magnet may not move the metallic particles strongly enough to form a clear band, so it is worth using the magnet designed for the job, especially when you are learning the technique.
Can I use cat eye polish without a nail lamp?
It depends on the formula. Regular cat eye polish dries in the air and needs no lamp at all. Gel cat eye polish must be cured under a lamp, layer by layer, or it will stay soft and peel. Check the product label to see which type you have before you start.
Why does my cat eye effect look faint or uneven?
The usual causes are a coat that was too thick, a magnet held too far away, or polish that had already started to set before the magnet was used. Try a thinner coat, hold the magnet closer without touching the nail, and work one nail at a time so every coat is still wet when the magnet is applied.
How do I remove cat eye gel polish safely?
File the top coat gently, soak the nails as your product directs, and ease the softened gel away rather than peeling it. Finish with cuticle oil and hand cream, and give your nails a rest before the next gel set if they feel weak or dry. If you notice persistent redness, swelling or lifting, stop using gel products and seek advice from a nail or healthcare professional.
Conclusion
Cat eye nail polish turns a simple manicure into something with depth and movement, and the technique behind it is simpler than the result suggests. Choose a colour you love, work one nail at a time, hover the magnet just above the wet polish until the shimmer gathers into a band, and seal it with a glossy top coat. Whether you opt for the ease of regular polish or the durability of gel, a little patience with the magnet step is all it takes to get that luminous, gemstone-like finish at home.