A bronzed glow does not have to come from hours in the sun or time spent on a sunbed. For many people, the simplest route to an even, natural-looking tan is a bottle of tanning cream used at home. Applied well, it gives colour on your own terms: you choose how deep it goes, you build it gradually if you prefer, and you skip ultraviolet exposure altogether.
This guide explains what tanning cream actually is, how the three main kinds differ, how to choose one for your skin tone and routine, and how to apply it without streaks or stained hands. It is general beauty information only, not medical advice. As with any new skin product, patch test first, and if you have a skin condition or any doubt about a product, seek advice from a qualified professional before use.
What Is Tanning Cream?
Tanning cream is a broad term for creams, lotions and moisturisers that add colour to the skin without any need for sunlight or a sunbed. They work on the surface of the skin, which is why the colour they give is temporary and fades naturally as skin sheds. That surface action is also what makes them flexible: you can use them for a single evening, build a subtle glow over several days, or maintain a deeper shade through regular use.
Most self-tanning creams rely on dihydroxyacetone, usually shortened to DHA, an ingredient that reacts with the outer layer of skin to produce a browned tone. The colour develops over a few hours after application, rather than appearing instantly, and the depth depends on the concentration of the product and on your own skin tone. Some creams also contain a cosmetic tint or guide colour, which shows where you have applied the product and gives an immediate hint of colour while the real tan develops underneath.
Bronzing creams work differently. They are closer to tinted make-up for the body: they coat the skin with colour that is visible straight away and washes off at the next shower. They do not develop over time and they do not change the skin itself. That makes them ideal for a one-off occasion, but it also means they can transfer onto clothing, so they need a little care with what you wear afterwards.
The Three Main Types of Tanning Cream
The range can look overwhelming at first, but almost every product falls into one of three groups. Understanding which group you are buying is the single most useful step before you start.
Self-Tan Lotions and Creams
Self-tan lotions are the classic at-home tanning product. They are applied in a single session, left to develop, and give a noticeable change in colour after several hours. They come in light, medium and dark strengths, so you can match the depth to your skin tone and to how dramatic you want the result to be. A guide colour is common in these formulas, because it makes it much easier to see missed patches while you apply. These products suit anyone who wants a clear result for a holiday, a wedding, an evening out, or simply a change of look, and who is happy to take time over application.
Gradual Tanning Moisturisers
Gradual tanning moisturisers contain a lower level of tanning ingredient blended into an everyday body lotion. Used daily, they build colour slowly over several applications, which makes them the most forgiving option for beginners. Because the change is subtle from one day to the next, mistakes are far less obvious, and you can stop once you reach the shade you like, then maintain it with occasional use. They are a good choice if you want a gentle, believable glow for everyday life rather than a dramatic transformation, and if you prefer tanning to feel like part of your normal moisturising routine.
Bronzing Creams
Bronzing creams give instant colour that washes off. They are perfect when you need colour for one evening and do not want to commit to a tan that lasts for days. They are also useful for evening out skin tone on legs or arms for a particular outfit, or for testing how a deeper shade looks on you before trying a developing product. Their limitation is staying power: they can rub off on light clothing and bedding, and they will not survive a shower or a swim. Apply them last, let them dry fully, and choose darker clothing if you are worried about transfer.
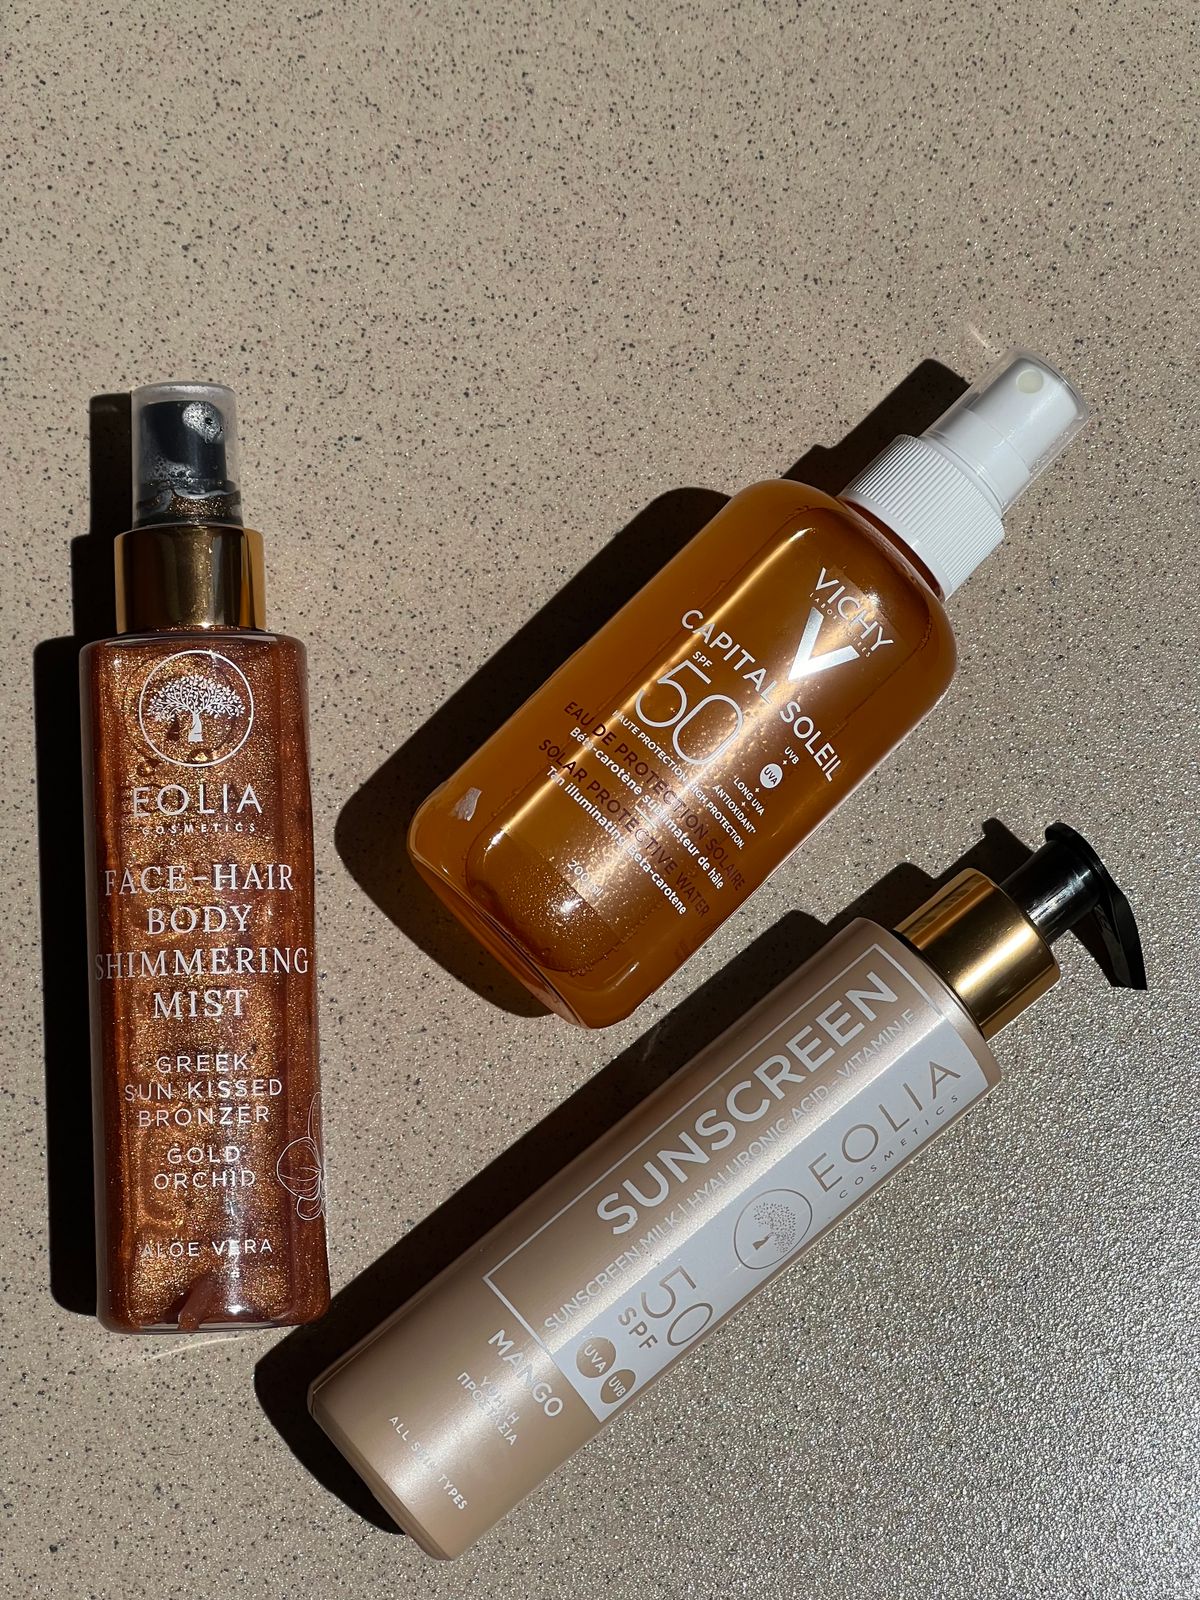
How Tanning Cream Differs from Sunbed Cream
This is a distinction worth making clearly, because the two products sound similar and are often shelved near each other, but they are made for entirely different routines. Sunbed cream is a lotion designed to be worn during an indoor tanning session, under ultraviolet lamps, where it moisturises the skin and, in some formulas, adds bronzer or warming ingredients. Tanning cream, by contrast, is the colour itself: it creates a tan on its own, at home, with no lamps and no ultraviolet exposure involved.
If you are deciding between the two approaches, it comes down to what you want from the experience. If you prefer a sun-free routine you can control from your bathroom, a tanning cream is the straightforward choice. If you want to understand the indoor route in full, including the different sunbed cream types and their safety notes, read our guide to sunbed cream as the indoor alternative. The two guides complement each other, but they describe different products for different routines, and the products should not be swapped between routines.
How to Choose a Tanning Cream for Your Skin
Choosing well starts with your natural skin tone. Fair skin usually looks most natural with a light or medium formula, applied gradually, because a very dark product on pale skin is where an orange or unnatural edge most often appears. Medium skin tones have more flexibility and can often carry a medium or dark shade comfortably. Deeper skin tones may find that lighter formulas make little visible difference, so a richer shade or a product with a clear guide colour can help you see where you have applied it.
Next, think about your routine. If you are short on time or new to tanning, a gradual moisturiser is the lowest-pressure starting point. If you have a specific event in mind and want a definite result, a self-tan lotion with a guide colour gives you more control over the final depth. If you only need colour for one night, a wash-off bronzing cream avoids days of commitment. Texture matters too: a light lotion absorbs quickly and suits warmer weather, while a richer cream may suit drier skin or winter use.
Read the label before buying. Check whether the product is a developing tan or a wash-off bronzer, whether it contains a guide colour, whether it is fragranced, and whether it is marked suitable for the face or for the body only. If you have sensitive or reactive skin, a fragrance-free formula and a patch test are sensible precautions. Avoid products that promise dramatic results in a single application if you are a beginner: a tan that builds gradually is far easier to keep natural-looking than one that goes too dark in one step.
How to Apply Tanning Cream Step by Step
Good application is mostly preparation. The same product can look flawless or streaky depending on what you do in the hour before you open the bottle, so take the preparation seriously.
- Exfoliate the day before: Gently exfoliate the skin, paying attention to elbows, knees, ankles and heels, where dry skin grabs colour more strongly. Avoid exfoliating immediately before application if your skin feels irritated.
- Moisturise the dry spots: Apply a plain moisturiser to elbows, knees, ankles, knuckles and any dry patches before tanning. These areas absorb more colour, and a light barrier keeps them from going darker than the rest.
- Start with clean, dry skin: Shower, dry thoroughly, and skip deodorant, perfume and heavy body oils until after the tan has developed.
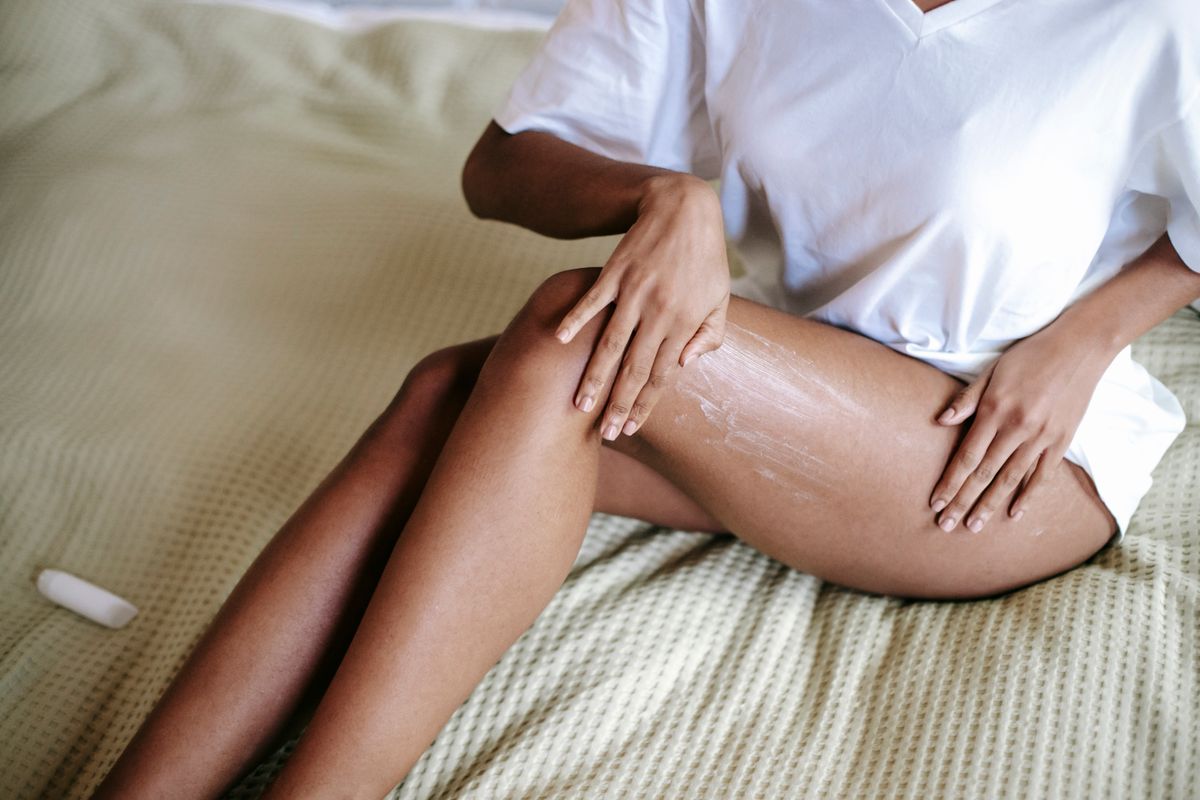
- Apply in sections, using even strokes: Work one area at a time, such as one leg, then the other, blending carefully at the joints. Use long, smooth strokes rather than dabbing, and keep the layer thin and even.
- Use a mitt if you have one: A tanning mitt spreads product more evenly than bare hands and protects your palms from staining. Blend carefully around wrists and ankles so there is no hard line.
- Wash your hands and check: If you are not using a mitt, wash your hands thoroughly after application, including between the fingers. Check in good light, or in a mirror, for missed patches before the colour develops.
- Let it develop undisturbed: Wear loose, dark clothing while the colour develops, avoid water and sweating, and wait until the recommended development time has passed before showering.
For the face, use a lighter hand. A gradual tanning moisturiser, or a small amount of self-tan blended carefully along the jawline and hairline, looks far more natural than a heavy layer. Blend down the neck so there is no visible line where the face colour ends, and avoid getting product into the eyes or onto the lips.
Common Mistakes to Avoid
- Skipping exfoliation: Dry, flaky skin takes colour unevenly, which is the most common cause of patchiness.
- Applying too much at once: A thick layer does not give a better tan; it gives streaks and darker patches, especially at joints.
- Forgetting the hands and feet: Palms, knuckles and soles stain easily, while the tops of hands and feet are often missed entirely. Blend lightly and wash palms well.
- Showering too soon: Water stops development early and can wash away guide colour unevenly, leaving a patchy result.
- Wearing tight clothing while developing: Tight waistbands, socks and bra straps can rub colour away and leave lines.
- Jumping straight to the darkest shade: Start lighter than you think you need. You can always build up, but you cannot easily lighten a tan that has gone too dark.
- Using sunbed cream as a self-tan: The two products are made for different routines. A sunbed cream will not develop a tan on its own at home, and a self-tan is not designed for use under lamps.
Making Your Colour Last
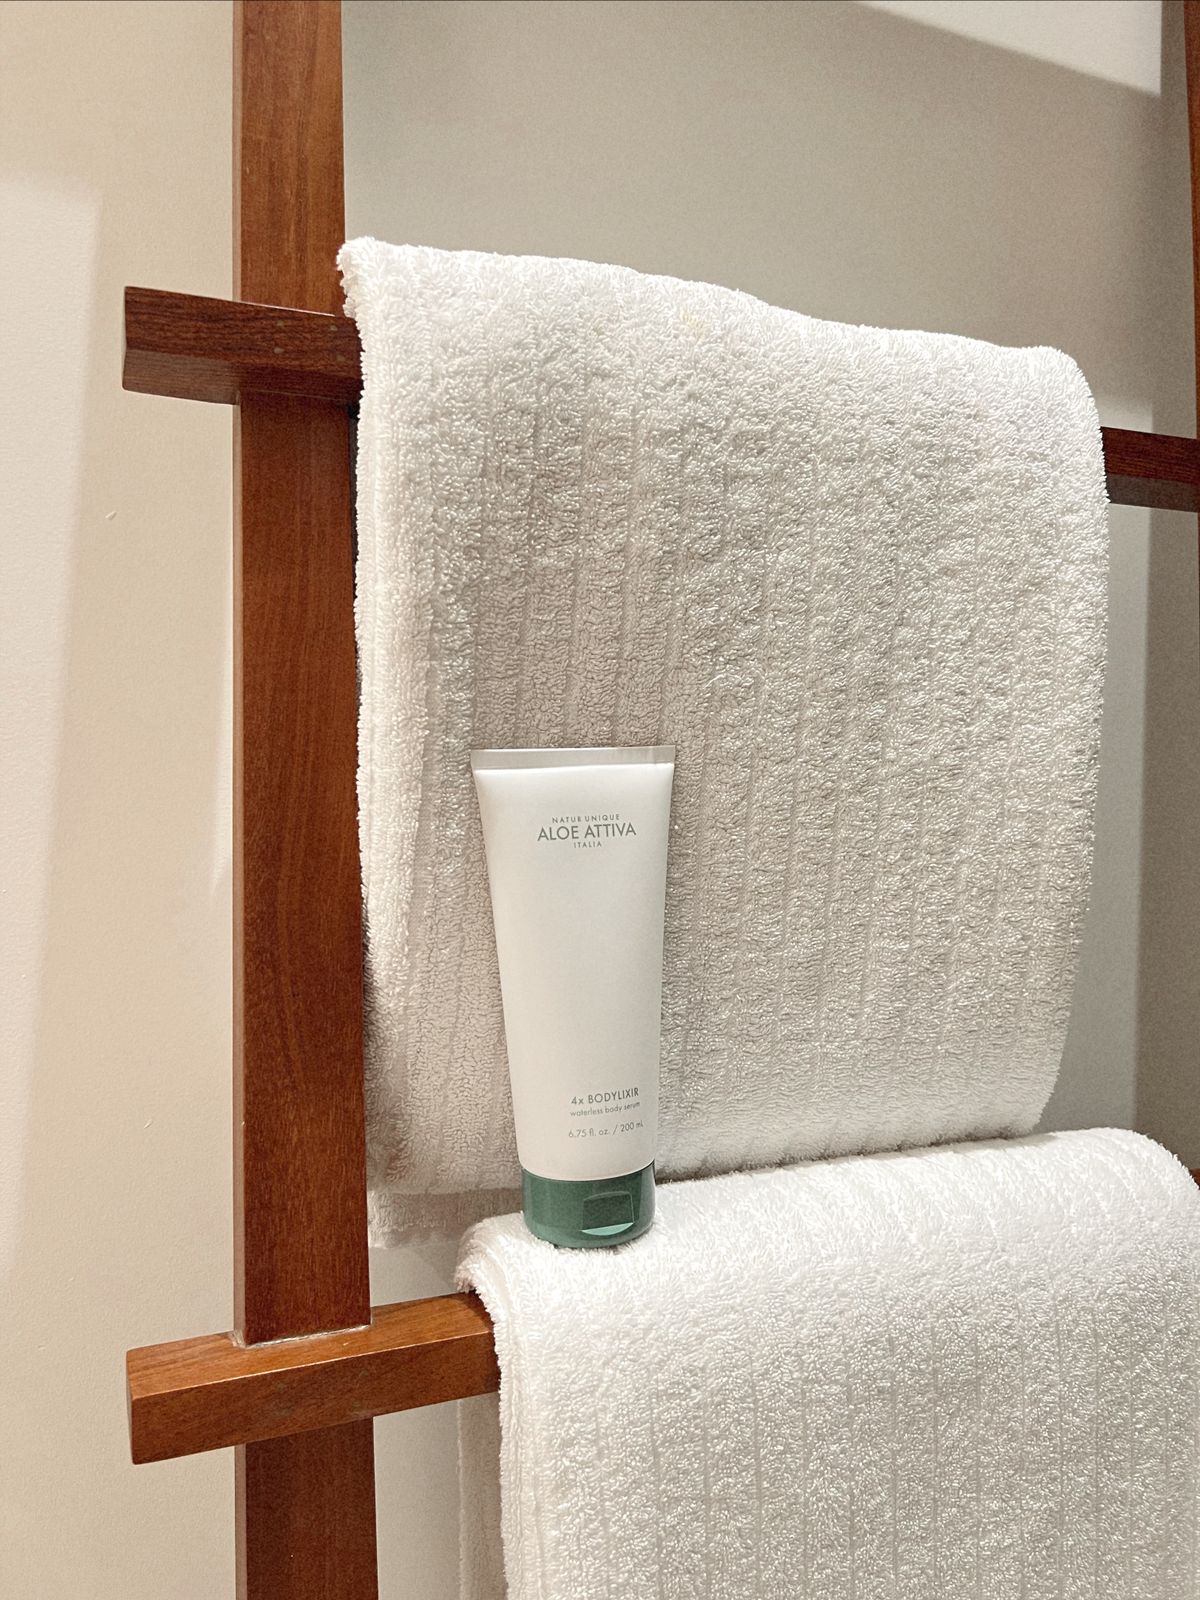
Once your tan has developed, the goal is to slow down the natural shedding of skin that fades it. Daily moisturising is the most effective habit here: well-hydrated skin holds colour more evenly and for longer than dry skin. Use a plain, gentle moisturiser rather than a heavily exfoliating product, and keep showers lukewarm rather than very hot.
Avoid harsh scrubs, strong exfoliating acids and long soaks in the bath or pool in the days after tanning, since all of these speed up shedding and fade colour faster. Pat skin dry with a towel rather than rubbing vigorously. If your colour starts to fade unevenly, a light application of gradual tanning moisturiser can even things out without starting the whole routine again.
Completing the Look
A tan is often part of a bigger getting-ready routine, especially before a holiday, a celebration or a night out. Pairing an even glow with neat hands and nails finishes the look far better than either on its own. If you enjoy doing your nails at home, and you are curious about gel manicures, read our guide to choosing a nail lamp for help picking the right lamp for gel nails at home. A simple, well-kept manicure alongside a natural-looking tan is a classic combination that suits almost any occasion.
Safety Notes for Tanning Cream
Tanning creams are a lower-risk way to get colour than ultraviolet tanning, because they involve no UV exposure at all, but a few sensible precautions still apply. Always patch test a new product on a small area of skin first and wait to see how your skin reacts before applying it more widely. Do not apply tanning cream to broken, irritated, sunburned or freshly shaved skin, and avoid getting it into your eyes. If you have a skin condition, such as eczema or psoriasis, or you use prescribed skin treatments, seek professional advice before trying a new tanning product, since some ingredients can irritate sensitive skin.
It is also important to remember that a self-tan gives no sun protection. A bronzed look does not mean your skin is protected outdoors, so use sunscreen as normal when you are in the sun, even when you are wearing a self-tan. If you notice itching, redness, swelling or a rash after using a product, wash it off, stop using it, and seek advice from a healthcare professional if the reaction does not settle.
Frequently Asked Questions
How long does tanning cream last?
A developing self-tan usually lasts for several days, fading gradually as the outer layer of skin sheds. Gradual moisturisers fade more quickly unless you keep using them, while wash-off bronzing creams last only until your next shower. Regular moisturising and gentle washing help any tan last a little longer and fade more evenly.
Will tanning cream turn me orange?
Modern formulas are far less likely to give an orange result than older products, but the risk rises when the shade is too dark for your skin tone or when too much product is applied at once. Choosing a shade close to your natural tone, applying thinly and evenly, and building up gradually are the best ways to keep the colour believable.
Can I use tanning cream on my face?
Yes, but use a lighter touch than on the body. Many people prefer a gradual tanning moisturiser for the face, or a small amount of self-tan blended carefully along the jaw and hairline. Blend down the neck to avoid a visible line, and avoid the eye area. If a product is marked body-only, follow that guidance and choose a face-suitable formula instead.
Is tanning cream safer than a sunbed?
Tanning cream involves no ultraviolet exposure, so it avoids the UV-related skin damage associated with sunbeds. That makes it the lower-risk option for anyone whose goal is simply to look tanned. It still requires care, including patch testing and avoiding use on irritated skin, and it provides no sun protection outdoors, so sunscreen remains necessary in the sun.
Conclusion
Tanning cream is the simplest way to enjoy a bronzed look without sunbeds or sun exposure: self-tan lotions for a definite result, gradual moisturisers for a subtle everyday glow, and bronzing creams for a single evening. The secret to a natural result is not an expensive product but a careful routine — exfoliate, moisturise the dry spots, apply thinly and evenly, and let the colour develop undisturbed. Choose a shade that suits your skin tone, patch test first, and keep moisturising afterwards, and your at-home tan will look even, believable and easy to maintain.